


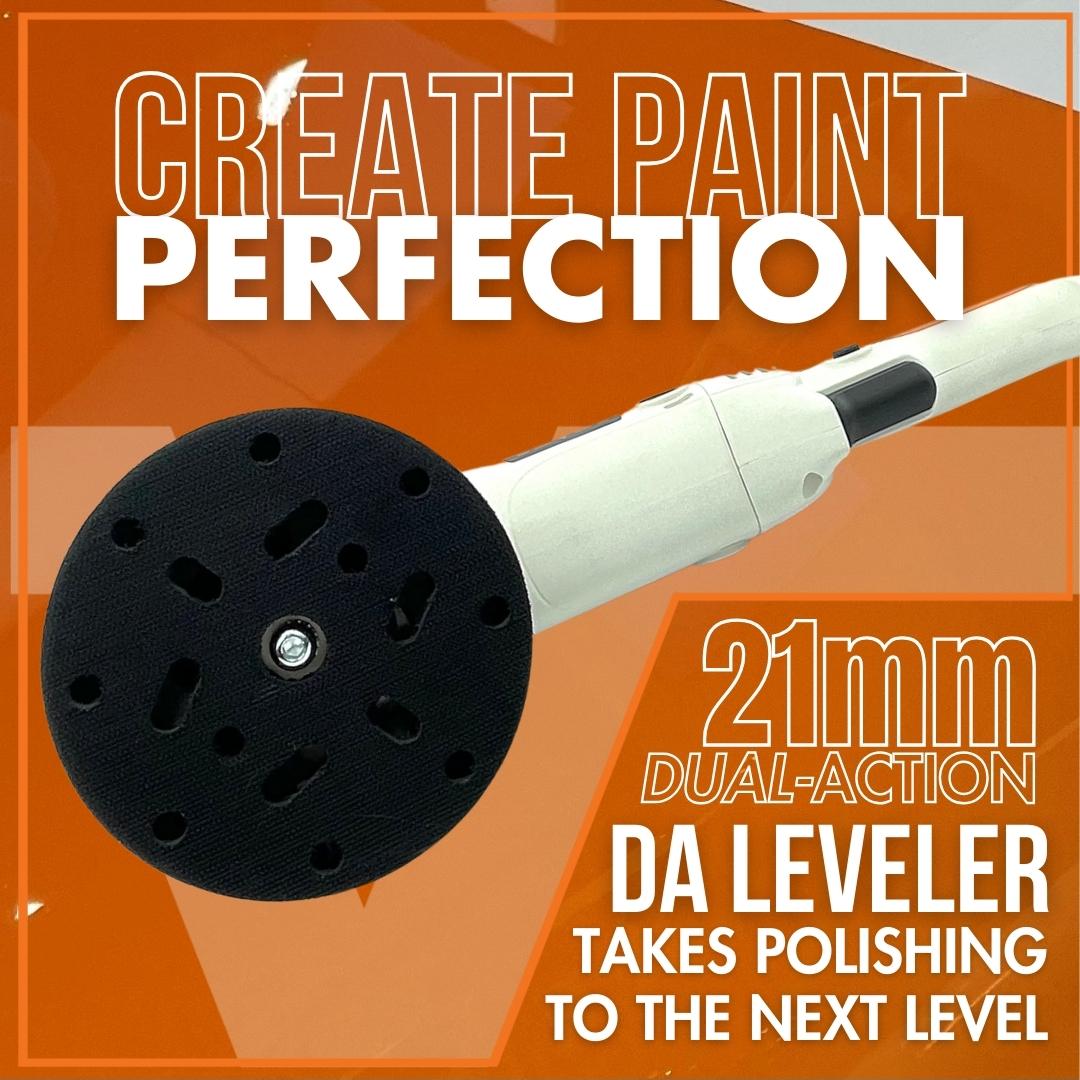

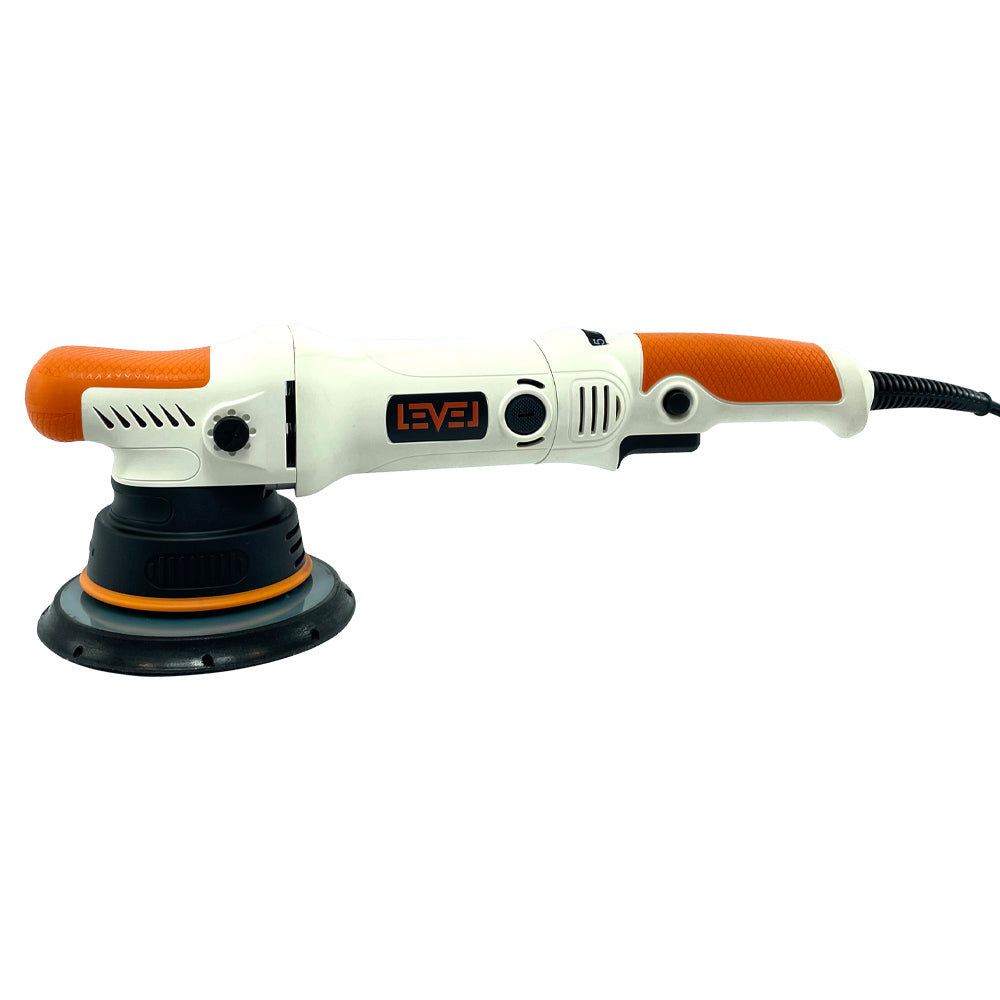
DA LEVELER, Dual-Action 21mm Polisher
DA LEVELER, Dual-Action 21mm Polisher
DA Leveler - Smooth, Dependable, Powerful Polishing-Compounding Polisher - Perfect for every Car Detailing Kit
Impossibile caricare la disponibilità di ritiro
Visualizza dettagli completi


Product Overview
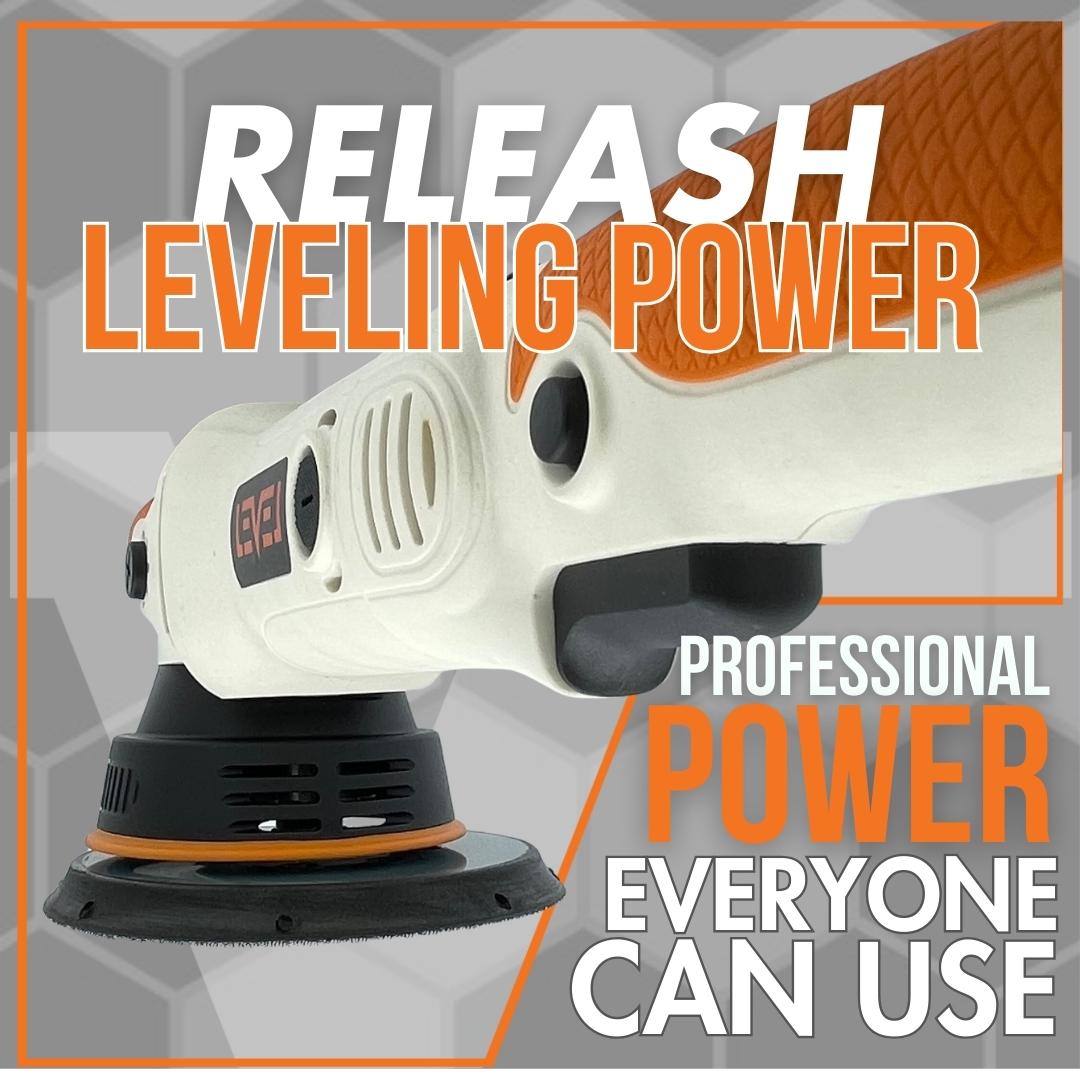
DA LEVELER, Dual Action polisher provides up to 30% more power to the buffing surface than the leading polishers. This additional power and increased balance greatly reduce the stall rate and increase overall performance when cutting and polishing. With proven durability and performance, tested in RV Manufactures, Body Shops, and Professional Detail Centers, the DA Leveler outlasts the leading brand by more than 4 times the life expectancy. DA Leveler combines comfort, power, performance, and dependability making it the "go to" workhorse you need and always wanted.How to use
Level Training Videos
Visualizza tutto-
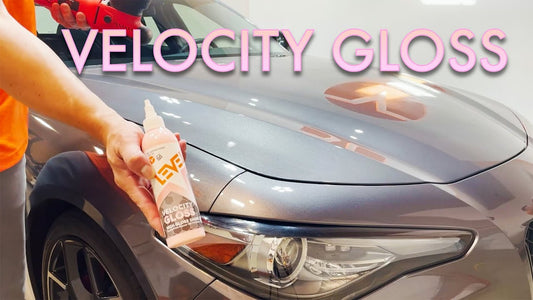
Velocity Gloss Application
We will teach you how to apply Velocity Gloss from LEVEL FINISH and all the uses that come from the different application options.
Velocity Gloss Application
We will teach you how to apply Velocity Gloss from LEVEL FINISH and all the uses that come from the different application options.
-
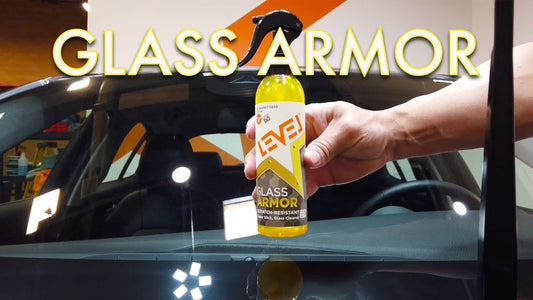
Glass Armor Training
In this video we will show you exactly how to use Glass Armor from LEVEL FINISH.
Glass Armor Training
In this video we will show you exactly how to use Glass Armor from LEVEL FINISH.
-
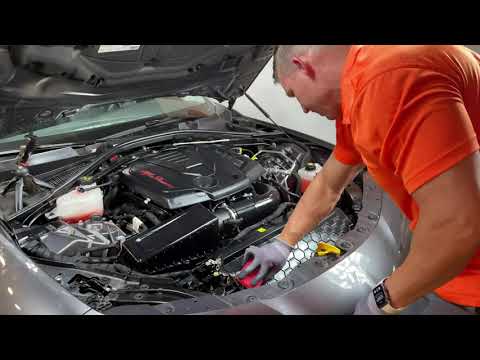
Engine Cleaning and Detailing
In this video we teach you how to use Revive & Thrive and LEVEL V to clean an engine.
Engine Cleaning and Detailing
In this video we teach you how to use Revive & Thrive and LEVEL V to clean an engine.


